Exporting Final
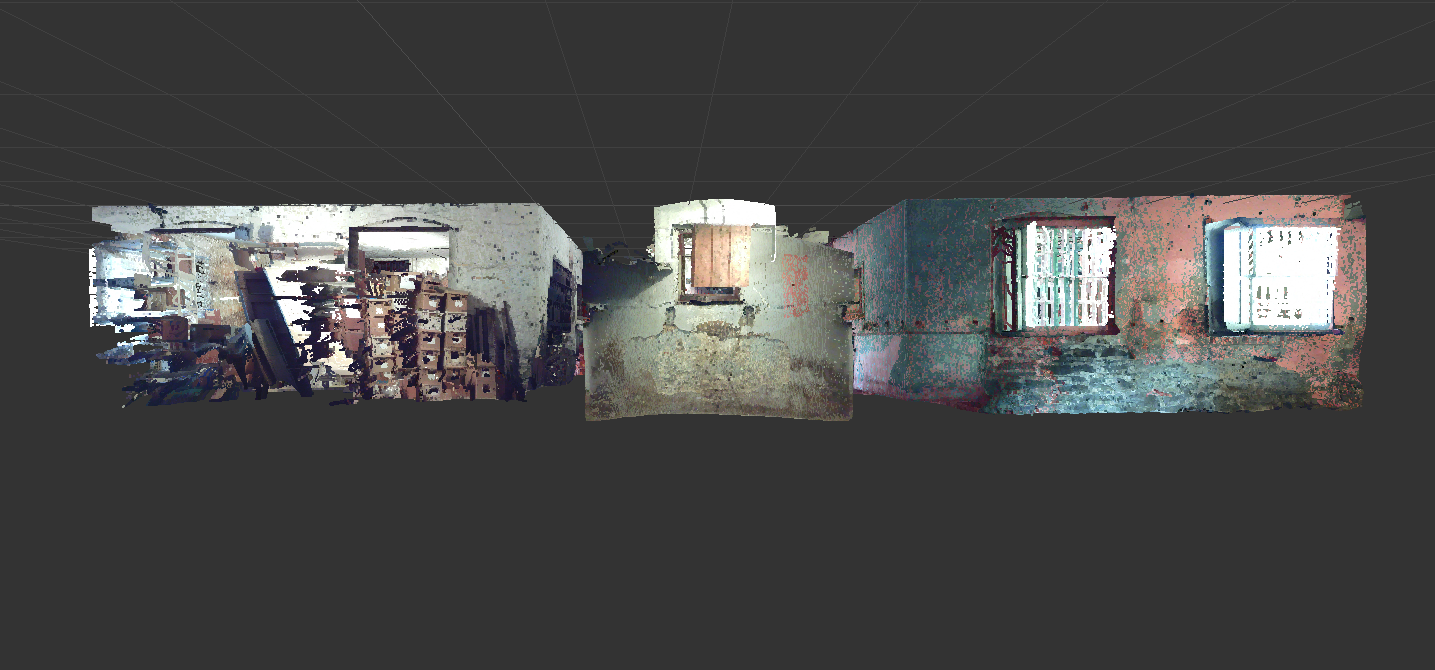
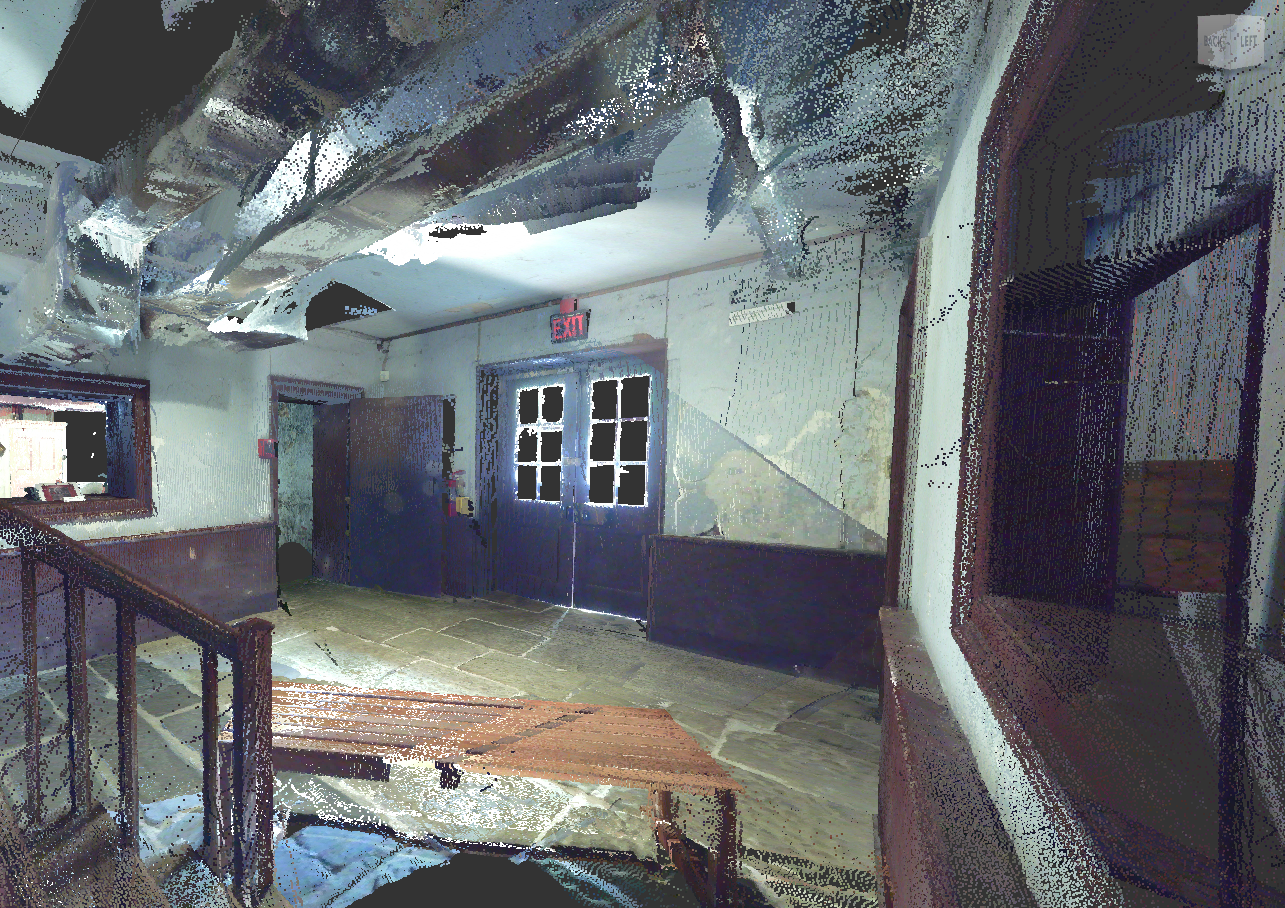
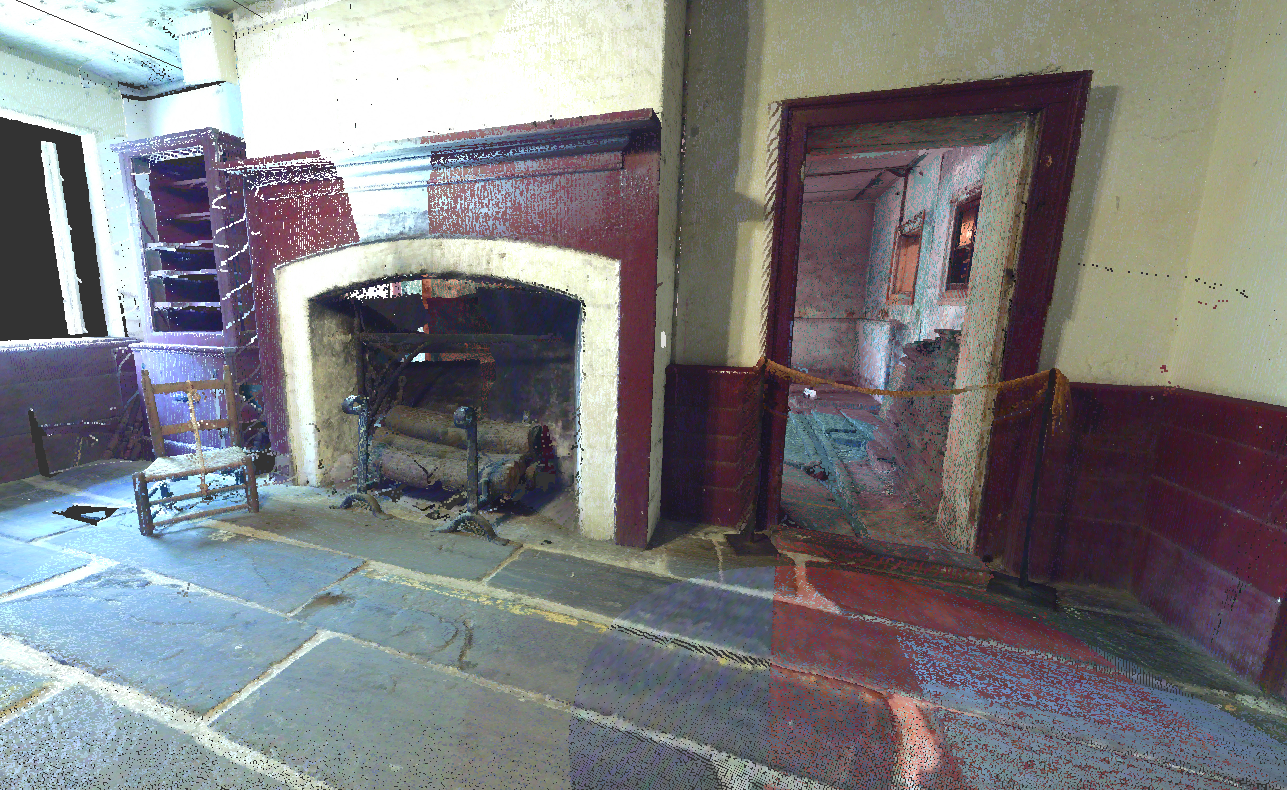
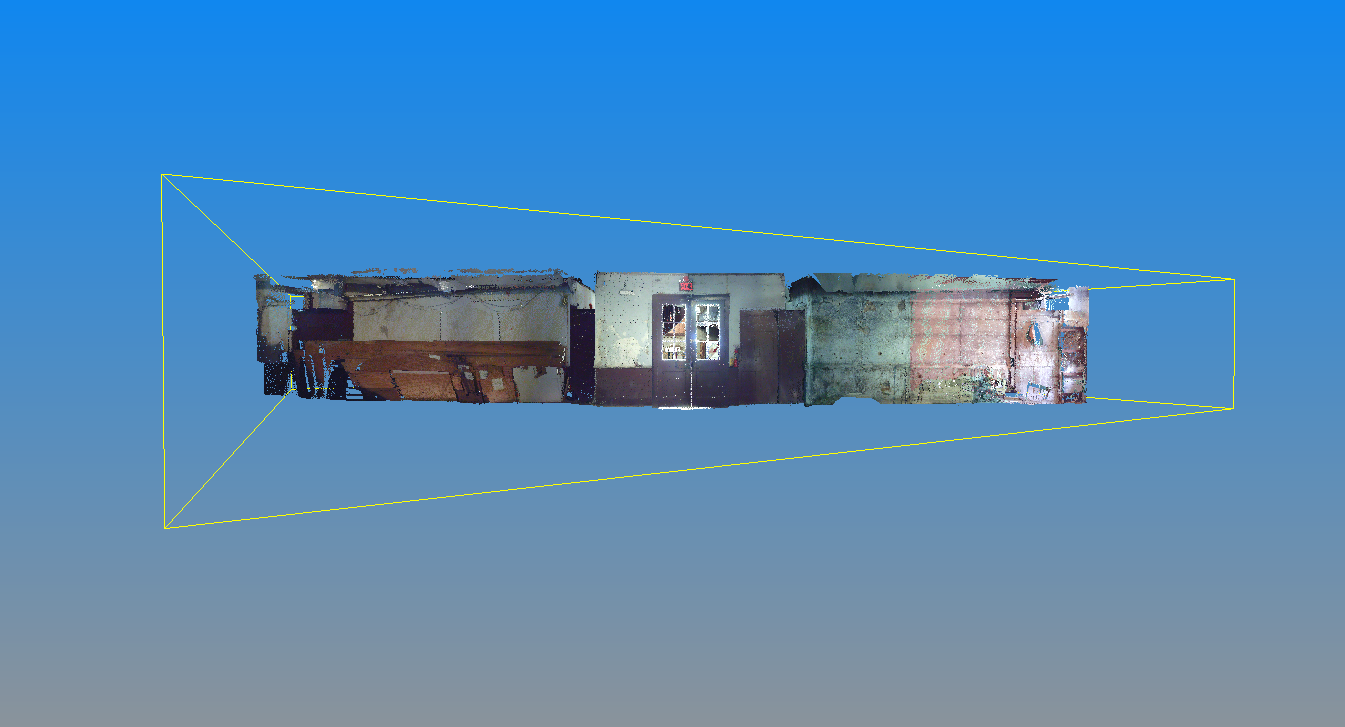
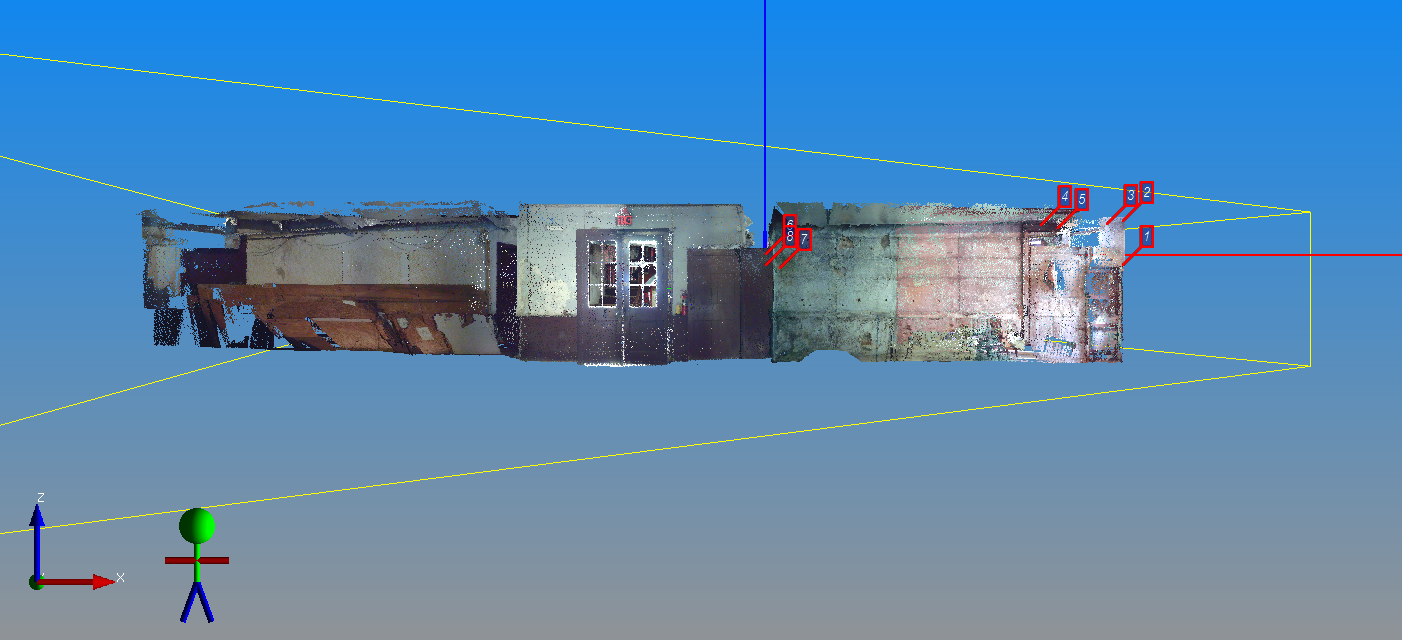
Now that our model is stitched together and moves accurately, we can export the file. This will allow us to import the file in various Autodesk programs such as Revit and AutoCAD. With the Gexel Reconstructor file open, we had to right click on the new single cloud we had previously created. From there, we chose to "Export," saving the copy with an e57 extension. It was extremely important to make sure the UCS we created was turned on, and that the model was in color, before beginning the exporting process. This took a while, and by a while I mean almost an hour of waiting.
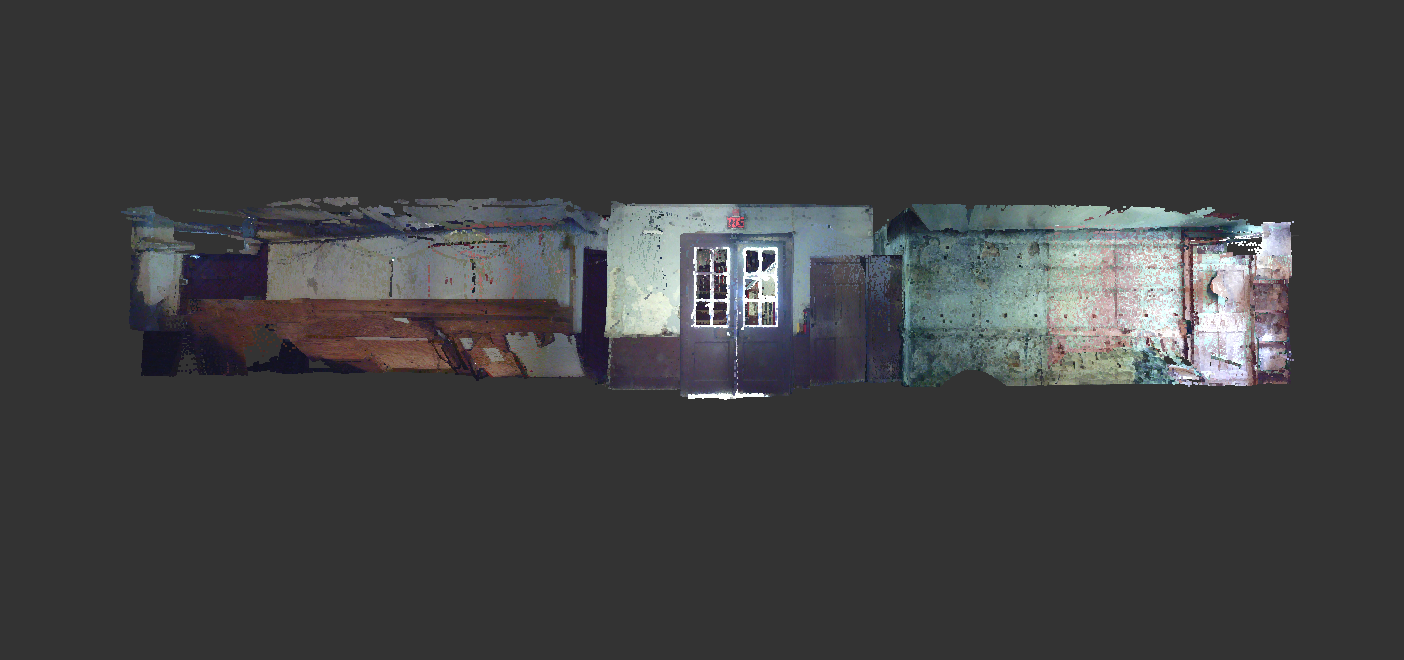
After the e57 extension file was completely exported, we began the conversion process into the Autodesk Recap format. Upon opening Recap, it asked us to "Scan Project." We named our "new" project and created a file for it before moving on to the next phase. We then were allowed to choose our designated e57 file and begin importing. Patience was necessary for this conversion! Once the process was complete, our model was visible in the Recap project window. On our main computer desktop (or external drive) was a .rcp and .rcs file of our model. It can now be uploaded into various Autodesk software and further manipulated.

