Gexel JRC 3D Reconstructor

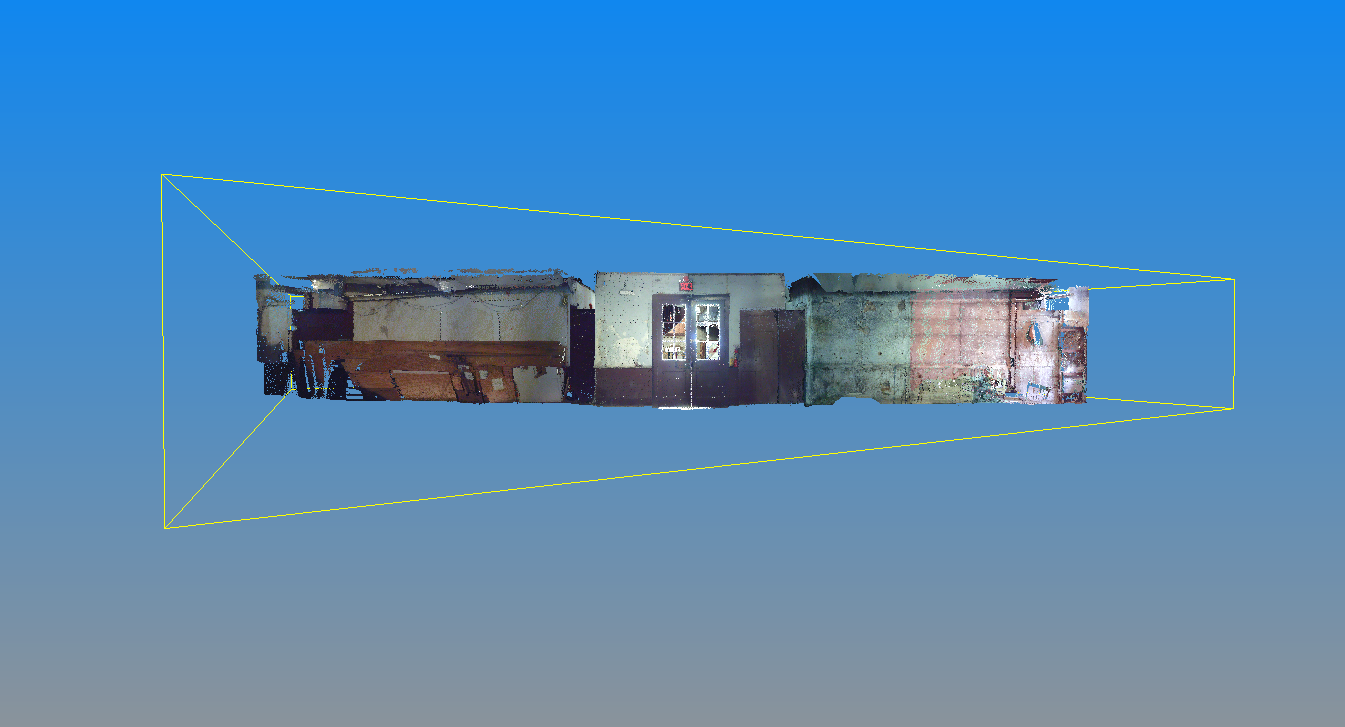
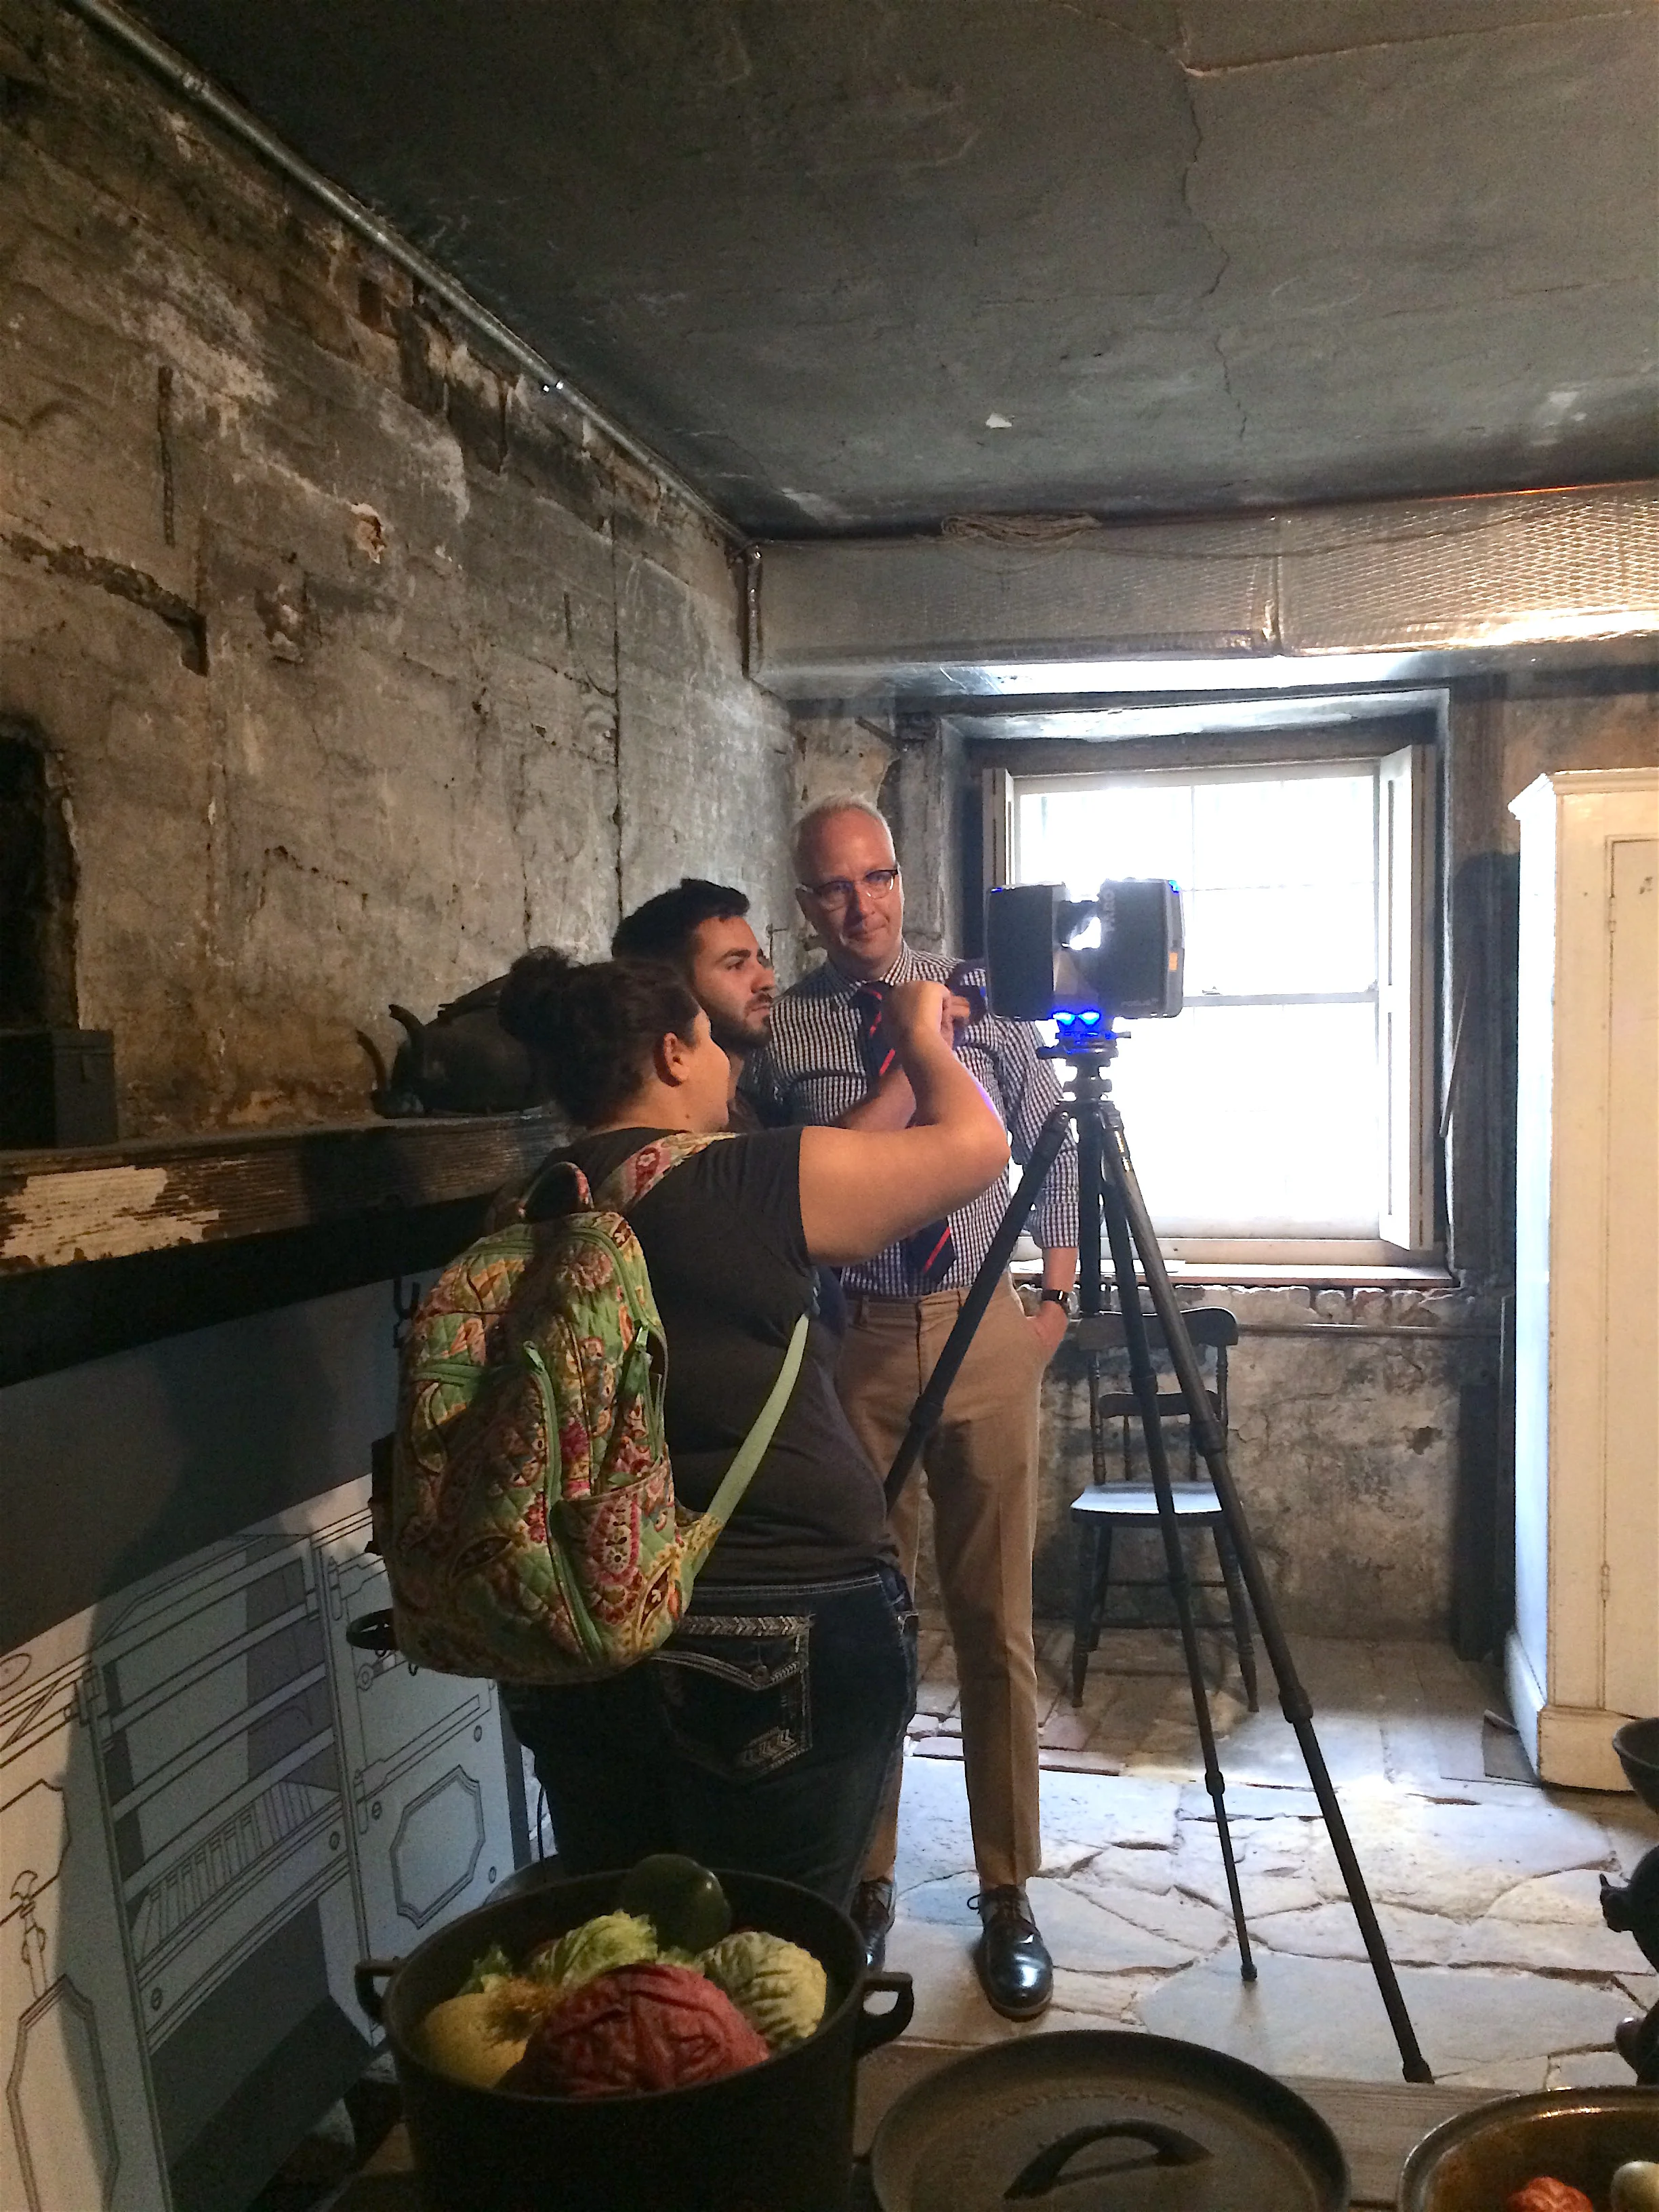
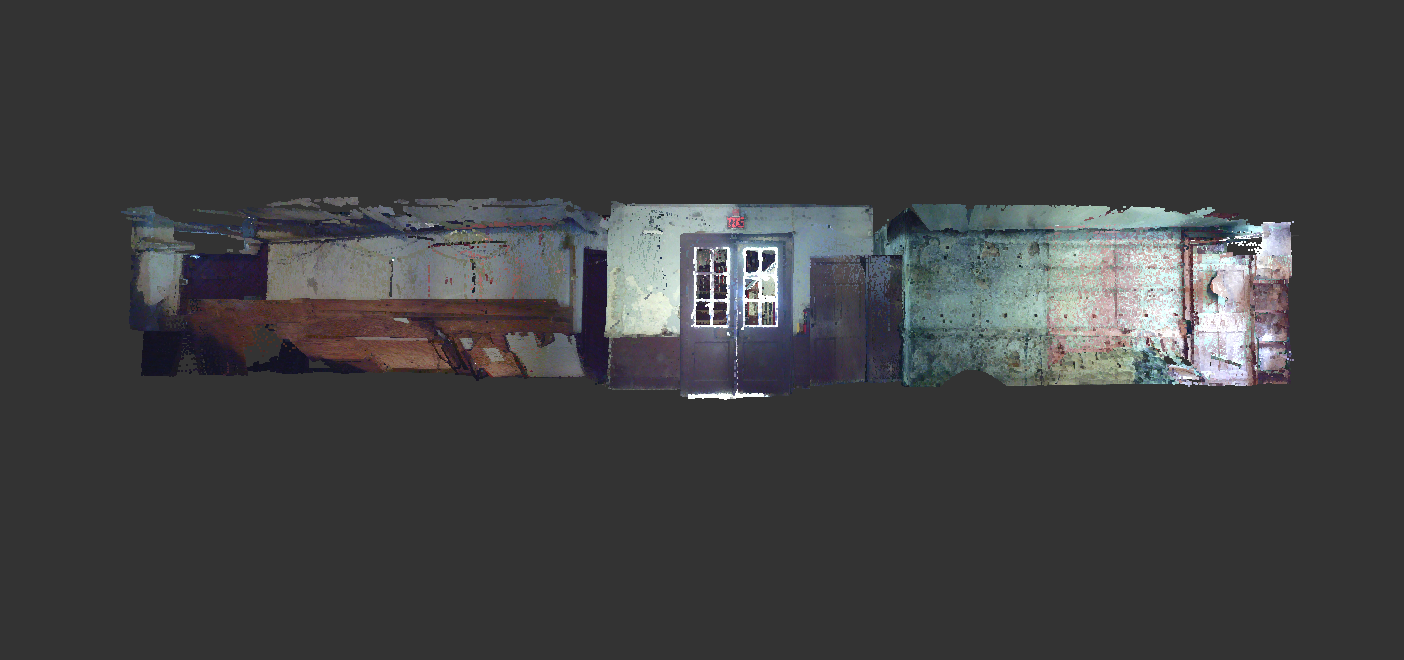
After opening up the recprj file, we created with the exported scans from FARO SCENE, we began processing the scans. First, we loaded the model into the application. Then, we changed the “Color Mapped” setting from the standard Reflectance into Color. Once the scan was in color and fully loaded, we processed them by clicking on the “Process” icon. To insure that this went seamlessly, we checked for an uppercase “P” next to each scan before moving on to the next step. We could then begin cleaning up the scans. This was a scary task! Unlike many other programs, there is no “undo” button if you delete too much of the scan.
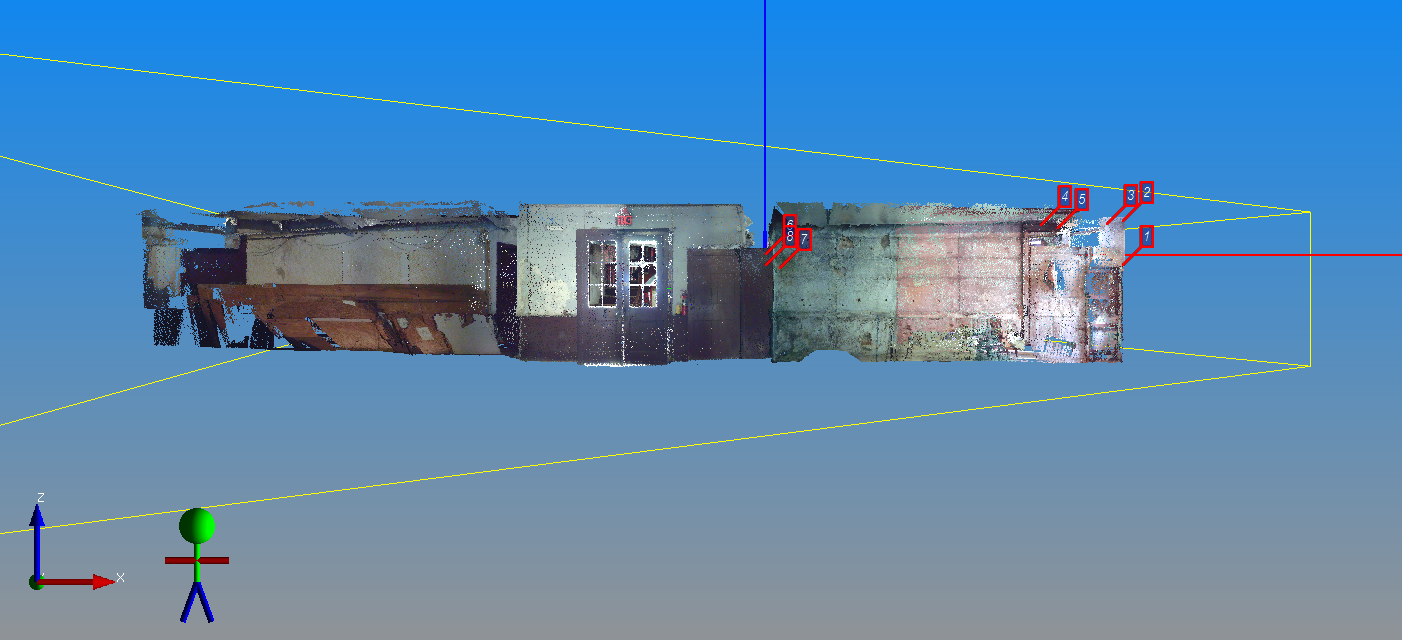
Personally, I used the select, rectangular tool to delete any “blurry” areas. Some areas of the scans were hard to make-out and the points were extremely far apart. These are the areas in which I chose to delete points. After insuring that all of the information on the scans was clear and legible, we could begin processing them! To easily complete this step, it was vital to have our field notes. The field notes allow you to see exactly where each scan was taken and what other scans it relates to. Once we chose two scans which relate to each other, or “connect” with one another, we were ready to register them!
After selecting the two scans, we clicked on the “Manual Pre-Registration” icon on the top of the screen. A separate window would pop up, showing the two scans which we have selected and a window for a “Moving grid” and a window for a “Reference grid.” It is important to remember which scans you assign to each grid. To clarify, if scan 1 has been assigned as a reference grid, it needs to stay a reference grid even if you register it to another slide later on. After deciding which scan is the reference and which is the moving, we picked three points which matched on both slides. These identical points had to have a mean registration error of .5 or less before we could select the “Apply Transformation” button. After the transformation was completed we closed the window.
With both of the scans selected, we then clicked “Cloud to Cloud Registration.” It was important that we made sure the scans were labeled as Reference and Moving like they were in the "Manual Pre-Registration." After this was done, we were able to process the scan and if the error was below .5 we could, once again, apply the transformation. After we closed the “Cloud to Cloud Registration” window, we now could select the “Bundle Adjustment” to tie both scans together and clean things up! Again, we had to make sure we assigned the same grids as in the previous steps. Keeping labels consistent, and information clear, was a necessary part of cleaning up and registering the scans using Gexel’s JRC 3D Reconstructor.


