Finishing up!
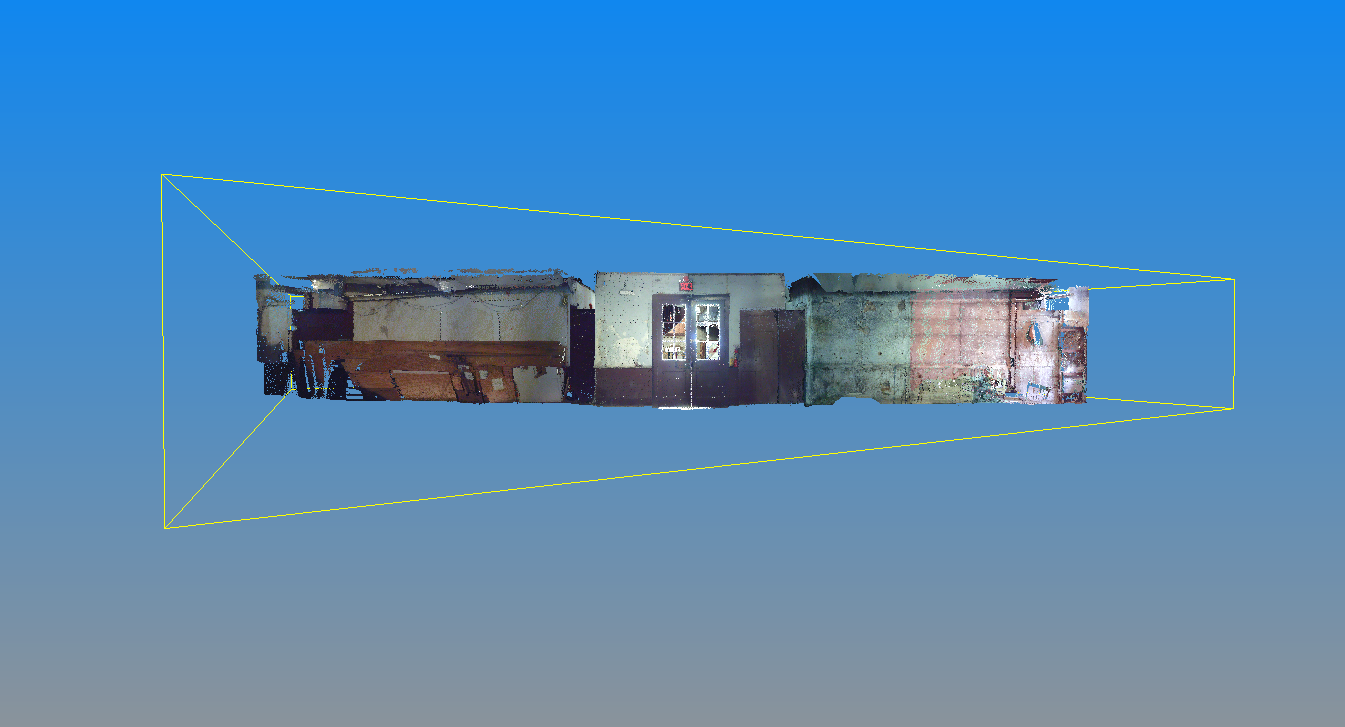
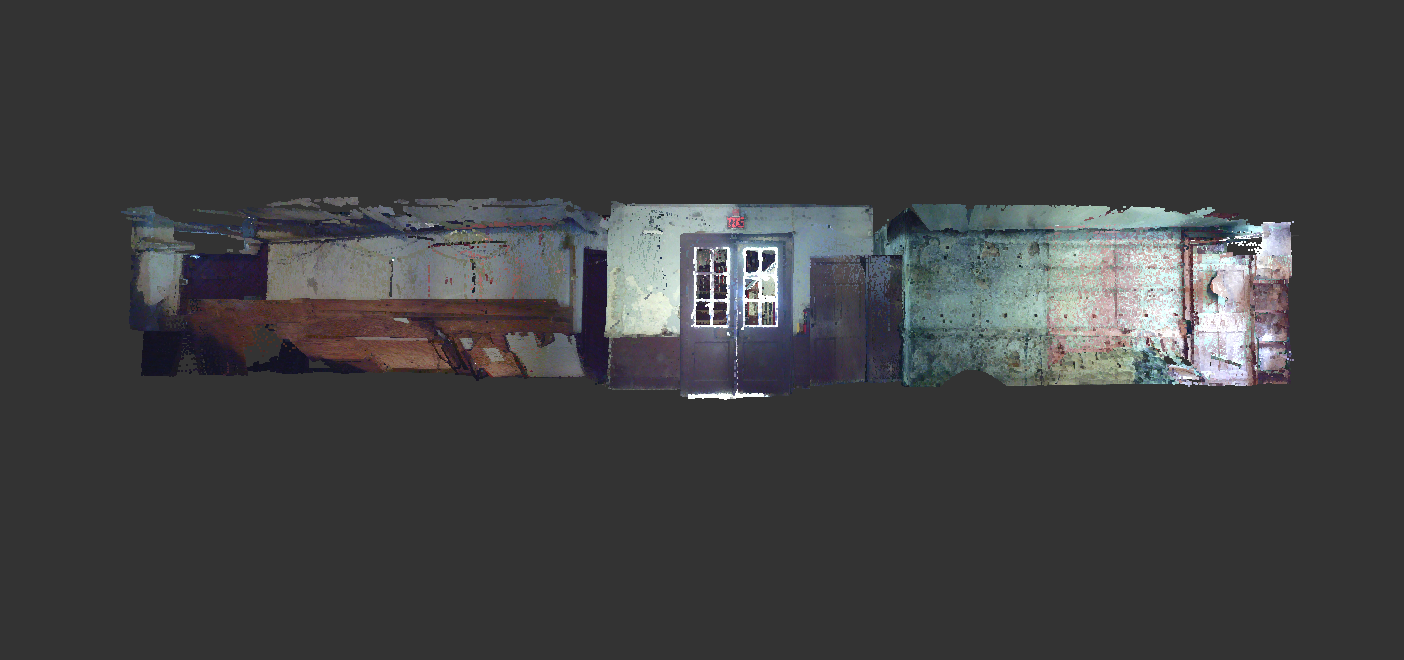
Once all of our scans were stitched together, we could begin to combine them into a single point cloud. This required us to select all the scans we previously worked on and choose "Filtering & Clustering." We could then begin the process of making a single cloud. Unfortunately, the computers we were using lacked both memory and speed, so we had to increase the sub. to 2 points. After completion, an "Unstructured Point Clouds" layer appeared under the Project Browser.
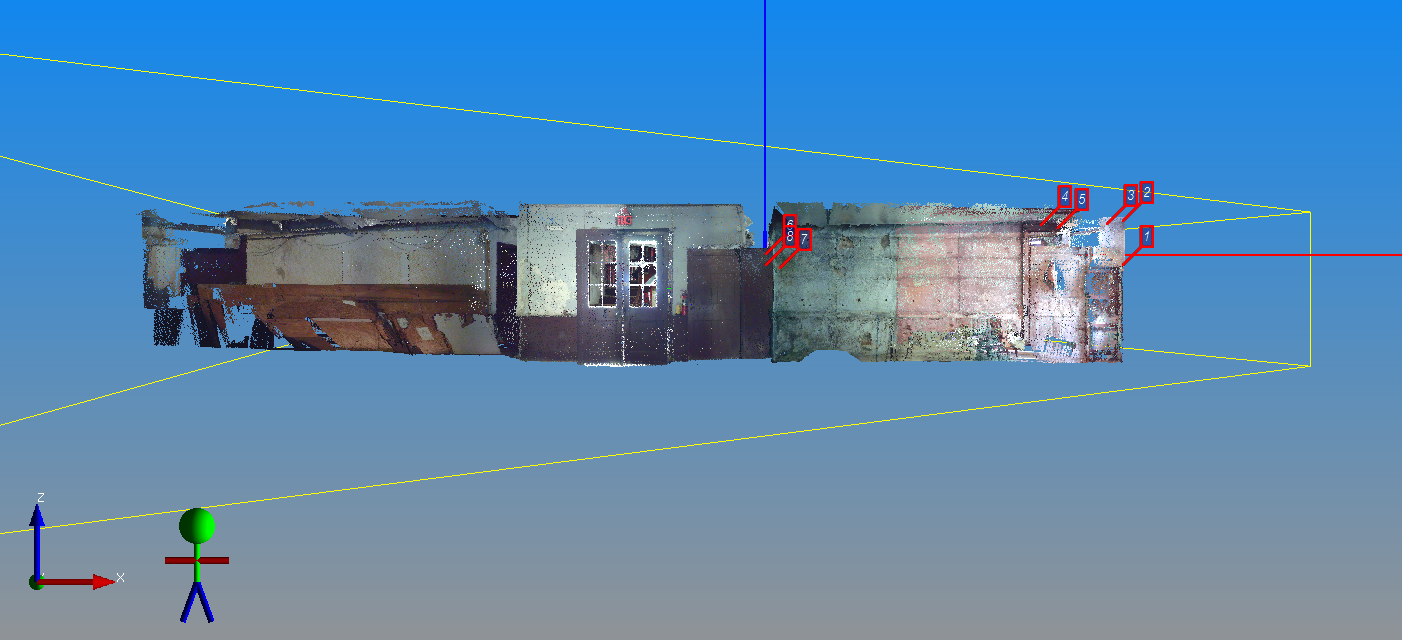
From here, we had to create a new UCS or else the movement of our 3D model would be slightly off. First, we created a plane. This was a challenging task because it required a lot of trial and error. The program asked us to "Specify a plane origin," we chose a major vertex or corner of the structure. Then it asked us to choose an X and Y axis. I chose X by placing a point on the main edge that ran horizontally in one direction, from the origin. I picked a point on the opposite edge of the origin for the Y axis. After making the plane horizontal, it should sit below or above the structure. The new plane will be visible under the Project Browser. Before we could set the new USC, we had to adjust the extension of the plane to 100x100. Once complete, we right clicked and selected, "Create USC from Pose." Now, we could set the new USC to make it the current USC utilized while viewing our model. This corrected the movement on our 3D structure! Now, we can zoom and rotate with ease.